

THE BLOG
Elevated Beauty at Your Fingertips
Stories, tips, and inspiration from inside the world of high-end, natural nail care.
Categories
No to Fake News: Gel Nails Are Not Banned in Europe!
No to fake news: gel nails are not banned in Europe!
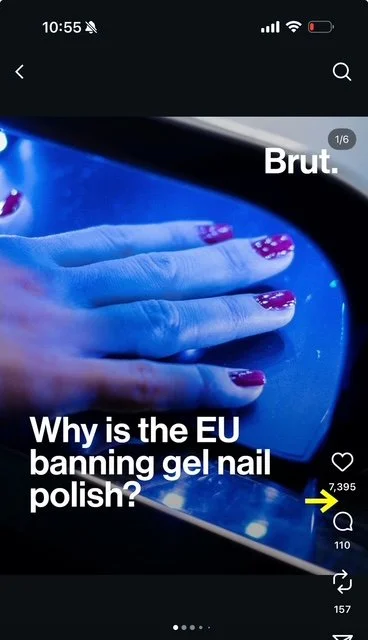
The past few months have been a little shaken in the gel nail industry. You’ve probably seen dramatic headlines like “Gel nails are banned in Europe!”
Once again, the media knows how to grab attention with fear, because scary titles bring clicks, likes, and follow.
But what’s really going on?
What Has Actually Been Banned?
Yes, the European Union has made a regulatory change. Since September 1st, 2025, any gel nail products containing TPO (Trimethylbenzoyl Diphenylphosphine Oxide) can no longer be sold or used in Europe.
TPO is a photoinitiator. It’s the ingredient that allows gel to properly harden under a UV/LED lamp, creating a strong structure that protects the natural nail.
Until now, scientists, the EU, and industry experts have always considered TPO safe in cosmetics. Why? Because once it hardens, it’s “locked in” and does not penetrate the nail or skin.
In fact, TPO is also used in the dental industry and still in use.


Why Did the EU Make This Decision?
The decision is based on a 2016 study… on rats. In the study, rats ingested very high doses of TPO (much higher than what is found in cosmetic products), and researchers observed fertility issues. The EU’s conclusion: by precaution, TPO was classified as potentially dangerous and therefore banned.
But let’s be honest: no one is eating gel products. So it’s difficult to apply these clinical results to the real use of gel nails.
Why It’s Not Banned in Canada or the US
In Europe, the system is hazard-based: if an ingredient could be dangerous in theory, it may be banned—even if the real exposure level is very low.
In North America, the system is risk-based: regulators look at both the potential hazard and the actual exposure in real-life use.
As US board-certified dermatologist Dr. Toral Vaidya explains: “The risk isn’t just about an ingredient existing—it’s about the amount and the way it’s used.”
What This Means for You as a Client?
This ban only targets one specific ingredient (TPO), not all gels.
It doesn’t mean that gel nails are unsafe when applied and cured properly.
It’s also pushing the industry to keep innovating with safer formulas.
As a nail professional, my responsibility is twofold:
to use safe products and techniques for my clients and for myself.
to always comply with regulations.
That’s why at Manicure Privé, I work exclusively with Bio Sculpture and Akzentz, two renowned brands with a strong reputation for healthy, innovative, and non-toxic formulations.
In sum…
So no, gel nails are not banned in Europe. TPO is, out of precaution. But the reality is: alternatives already exist, and serious brands are constantly adapting.
My advice? Stay informed, not afraid. Trust professionals who are trained, use high-quality products, and follow the rules.
What do you think? were you worried when you saw those headlines? If you have questions, feel free to write me at hello@manicureprive.com
Nella! 
Do You Really Need to Let Your Nails "Breathe" Between Sets?
Do You Really Need to Let Your Nails "Breathe" Between Sets?

It’s a question that comes up a lot.
And the answer might surprise you: No, your nails don’t need to “breathe”.
Why? Because unlike what some believe, your nails aren’t living tissue with lungs or pores.
They are made primarily of keratin and water, and once your nails grow beyond the cuticle, the plate is essentially dead. The only way your nails receive nutrients and oxygen is through the root, via the bloodstream and what you eat — not through the nail surface.
What most salons never tell you…
The nail industry has evolved.
The goal today isn’t just to make your nails look good, but to ensure:
Stronger, healthier nails,
Long-lasting results for 3 to 4 weeks,
A technique that respects your natural nail structure.
That’s exactly what I provide at Manicure Privé.
I primarily work with clear, structured bases. This means that during removal, your natural nail plate remains visible — allowing me to check the health of your nails at every appointment.


But when should you actually take a break?
There are a few specific situations where it’s recommended to remove the product and keep your nails bare:
If you experience medical conditions requiring a doctor’s approval — like fungal or pseudomonas (greenie) infections, severe allergies, or nail trauma like advanced onycholysis (nail separation).
If your nails are severely damaged due to poor-quality manicures.
If you’re going through significant life changes, such as:
• High-risk pregnancy,
• Surgery or upcoming chemotherapy,
• Medical requirements for bare nails,
• A busy schedule or limited budget preventing consistent 3-4 week maintenance with your nails pro.
The “let your nails breathe” myth…
This advice is often based on misinformation from:
fear, after a bad experience.
nails no longer feeling like a priority in your budget.
Or simply wanting to enjoy bare nails for a while and that’s ok, but it’s not about “breathing”.
The truth is, with the right technique, quality products, and a professional monitoring your nails, there’s no need for regular breaks.
In fact, constantly removing and reapplying product without care can do more harm than good.
In short?
What your nails really need is:
✔ The right technique,
✔ High-quality, non-toxic products,
✔ Regular, professional maintenance,
✔ Someone who actually cares about their health.
Still have questions or doubts? I’m always happy to guide you and answer your questions.
Until our next chat, Bisous,
Nella! 
Bride-to-be? Don’t wait until the last minute for your wedding nails!

We’re right in the middle of June… and you know what that means: wedding season is in full swing.
When you're a bride planning your big day, you're likely spending months (even a year or more!) planning your dress, your makeup artist, your hair stylist… and that’s completely normal. You want everything to be perfect.
But there’s one detail that gets overlooked way too often: the manicure and pedicure.
What happens when you leave your nails for the last minute? You end up with rushed work that doesn't match the standard you had in mind.
So many of my clients have told me:
"I wish I had known about you before my wedding…"
From chipped nails the night before the ceremony, to the wrong nude tone for their skin, or even a painful toe infection from a poor pedi — these are just a few examples of what can go wrong when nail care isn’t planned properly.
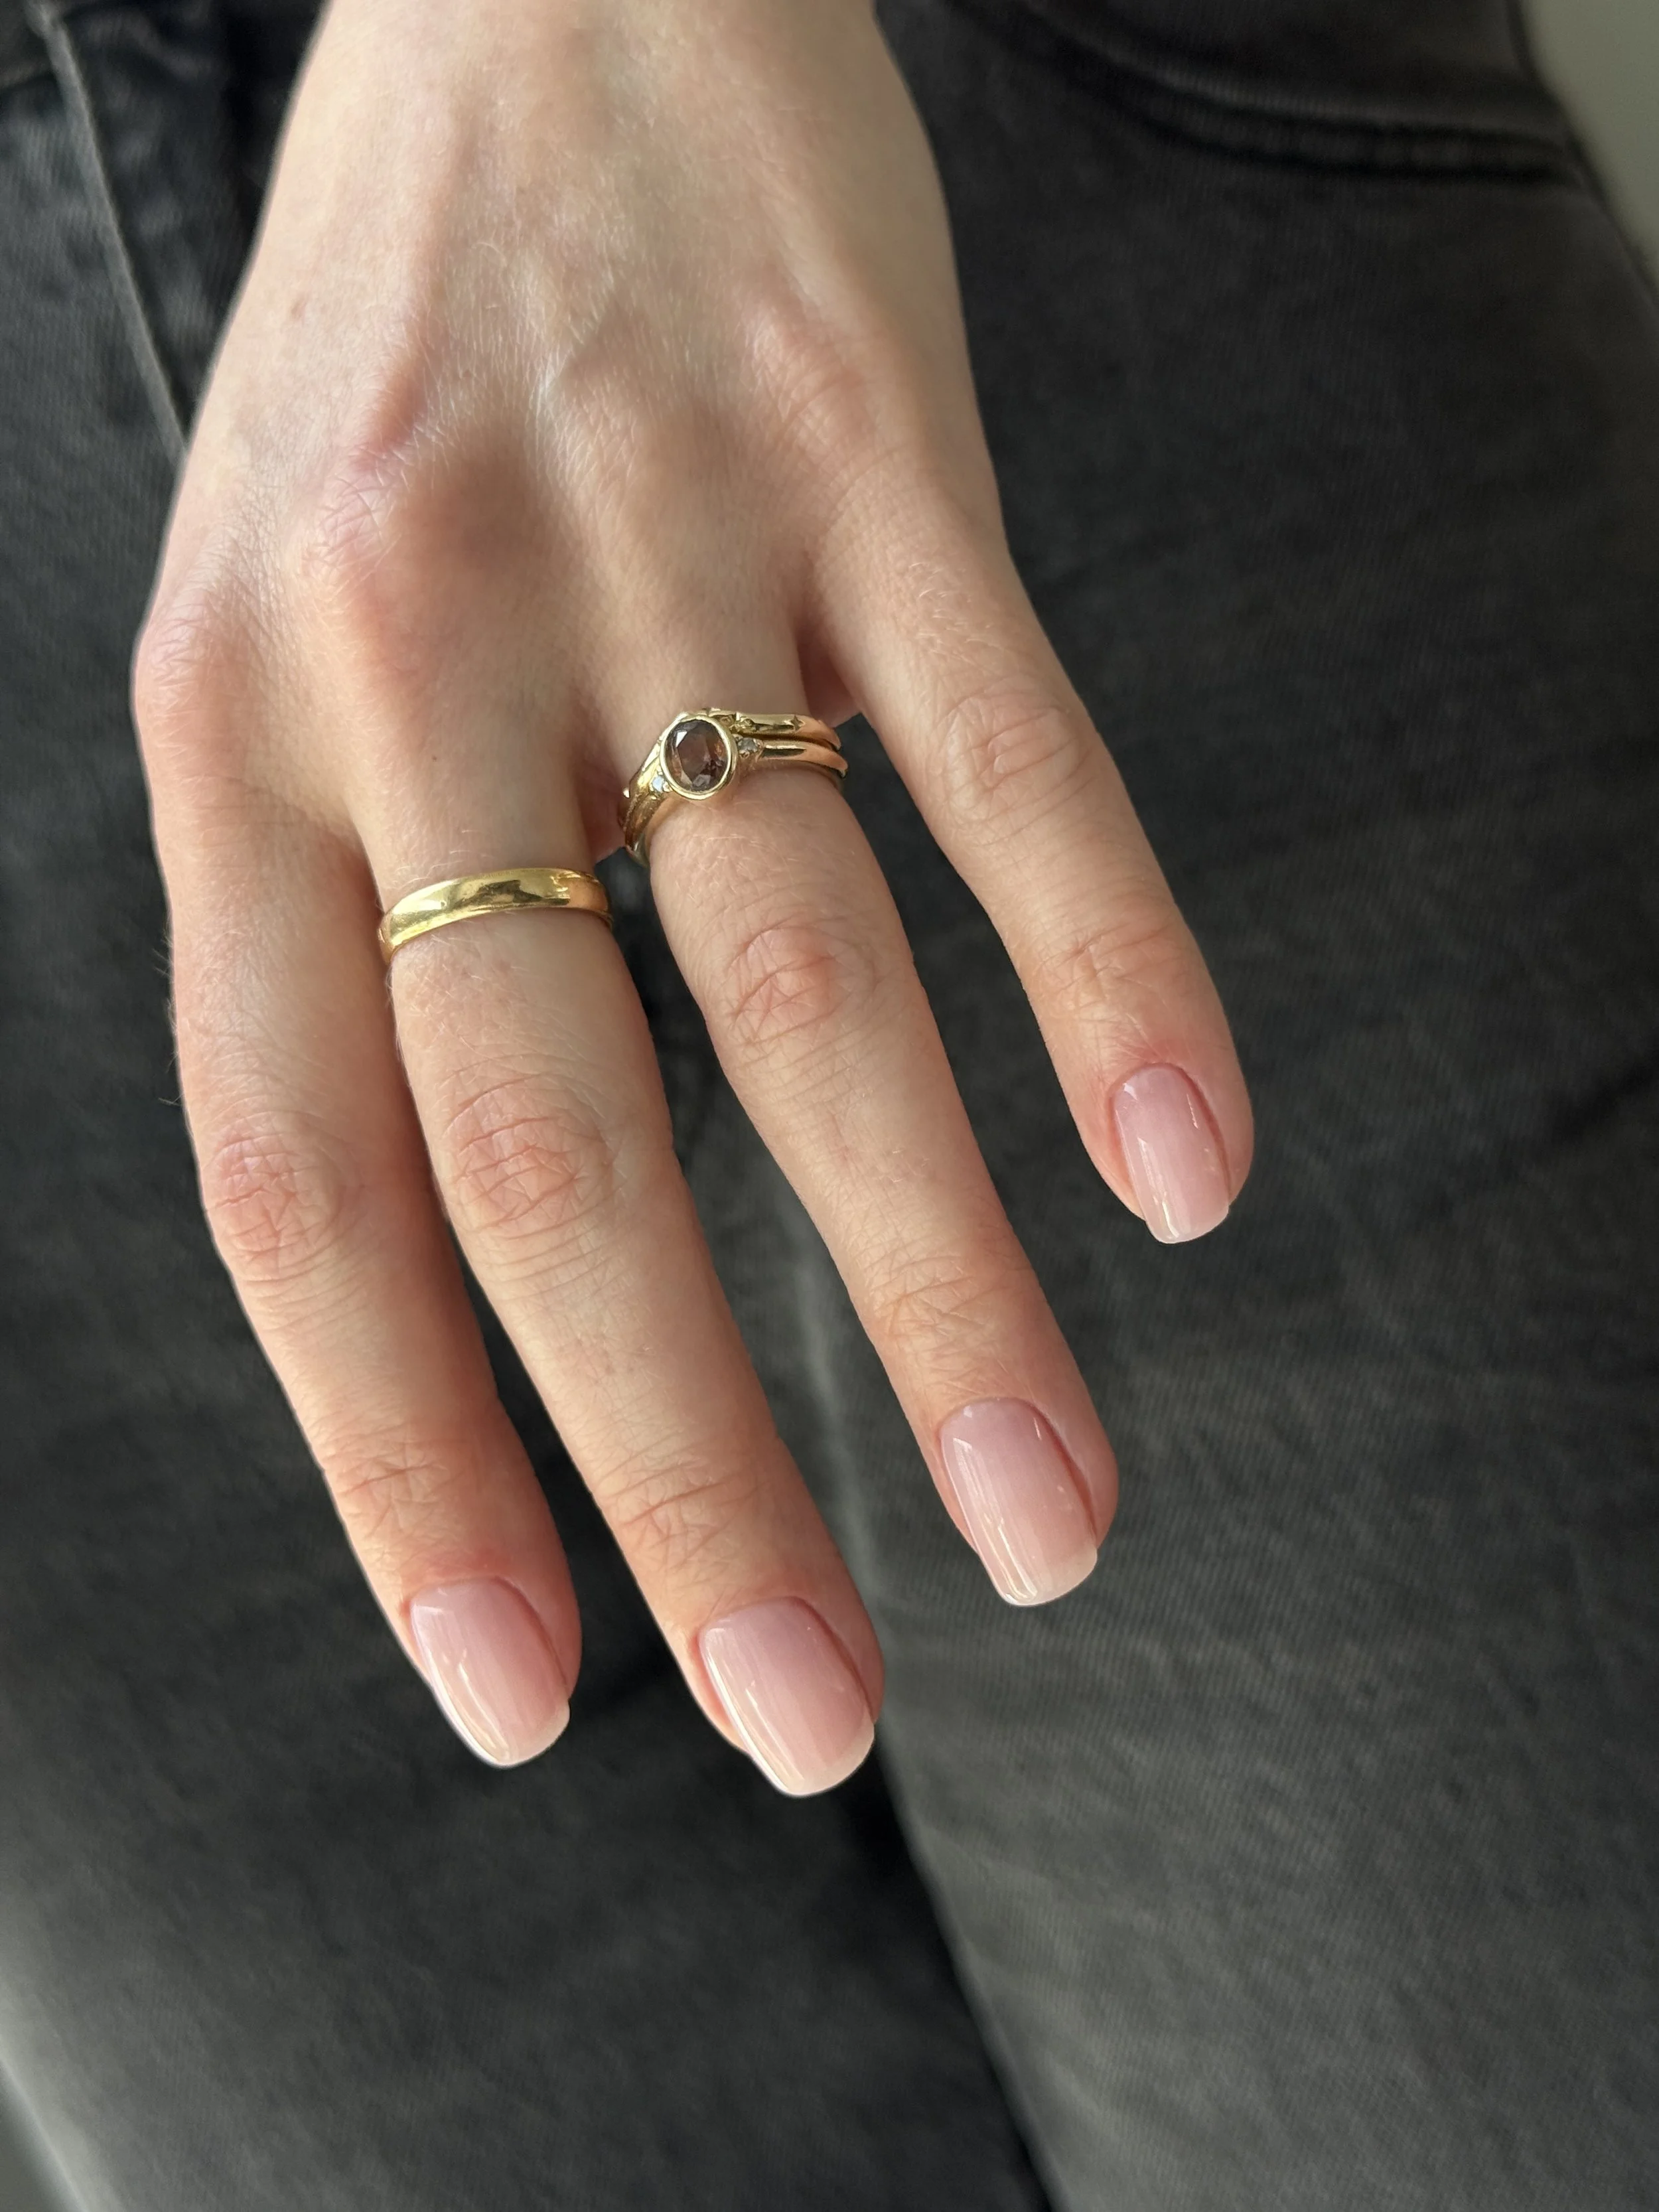
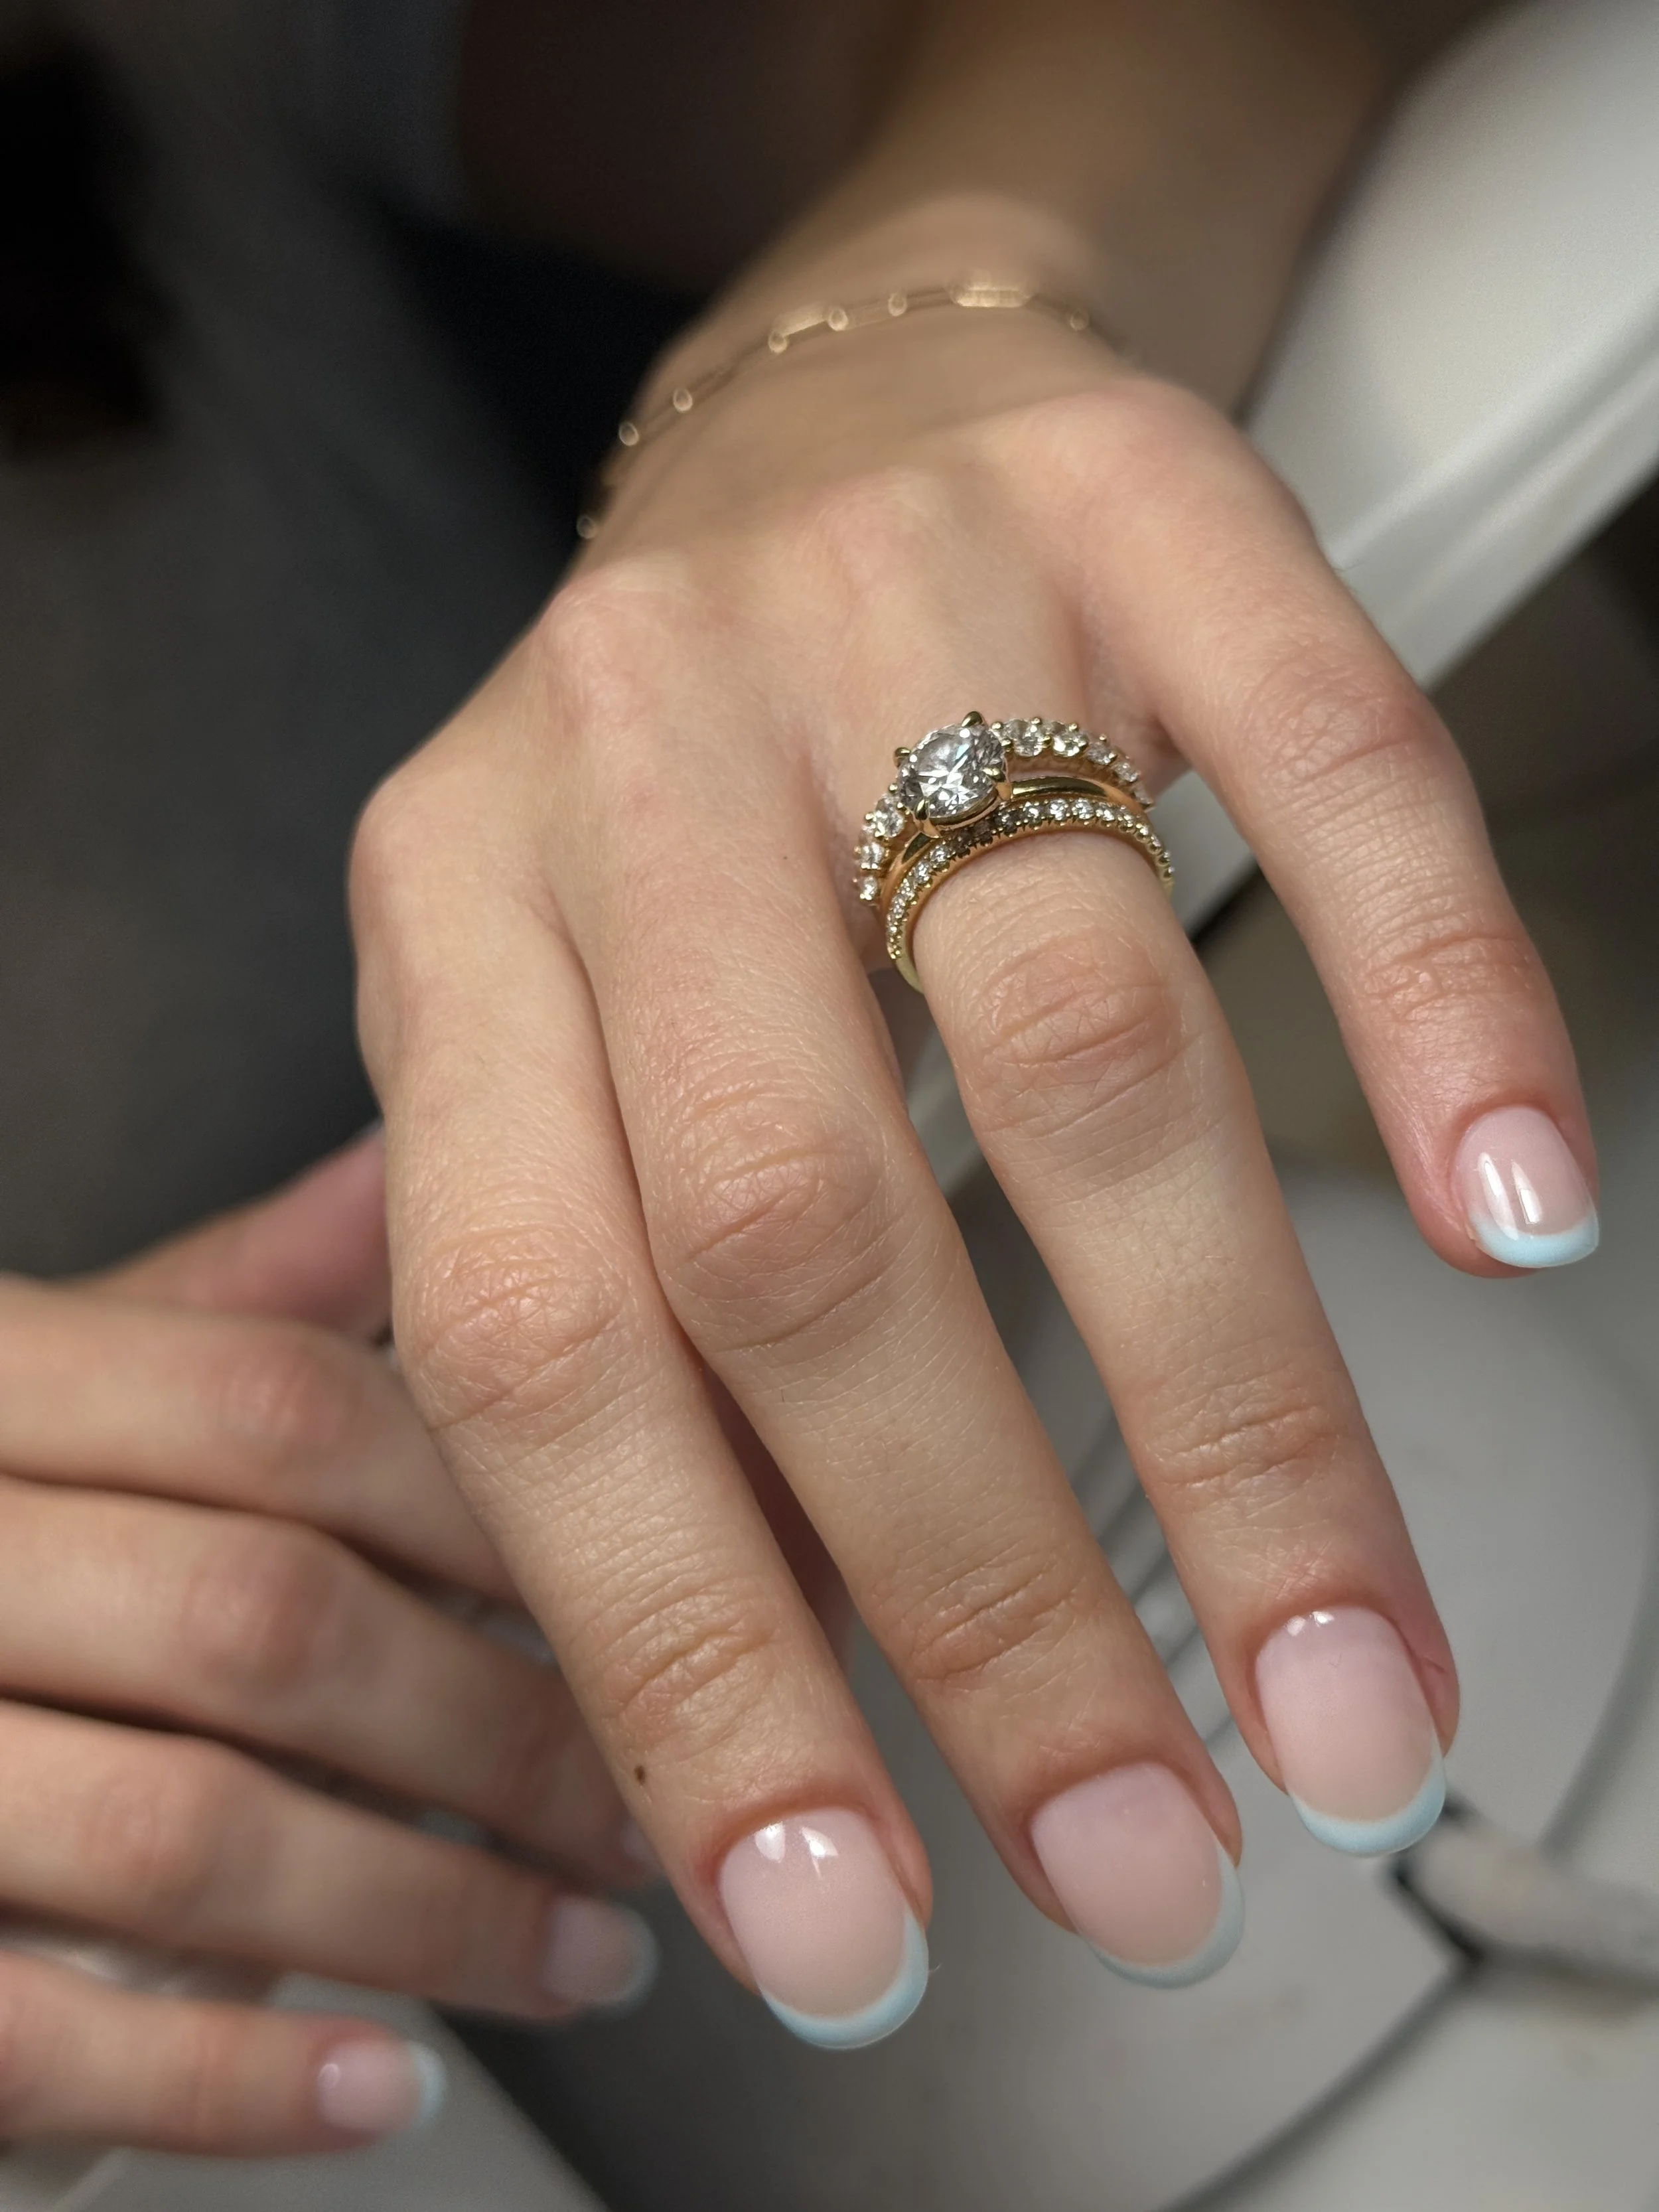
So here are my personal tips to avoid any disappointment and ensure your hands are photo (and ring!) ready 💍

Step 1: Visualize your manicure
Pinterest is your best friend. Create a mood board with nail designs that inspire you.
You can search by skin tone, style (minimal, classic,…,)or even your wedding theme.
This will make it so much easier for your nail tech to understand your vision and help bring it to life.
Trust me — the clearer your ideas, the better the result!
( Picture from Manicure Privé work)
Step 2: Research local nail techs or salons
Are you looking for a more intimate and private setting? Go for an independent nail tech.
Prefer a team or a bigger space? A nail salon might be right for you.
Today, platforms like Instagram and TikTok are just as useful as Google. Type in keywords like:
Wedding nails + City (eg: Toronto)
Natural bridal nails
Russian manicure + City
Private nail tech + City
Gel nails + City
—> Start searching 5 to 6 months ahead. Make a shortlist of 3 to 5 options, check Google reviews, and reach out via email or phone.
This way, you’ll quickly get a feel for the experience and vibe each professional offers.

Step 3: Book a bridal nail consultation + trial
I recommend booking 3 to 4 months in advance to plan 1 or 2 trial sessions.
Ask yourself:
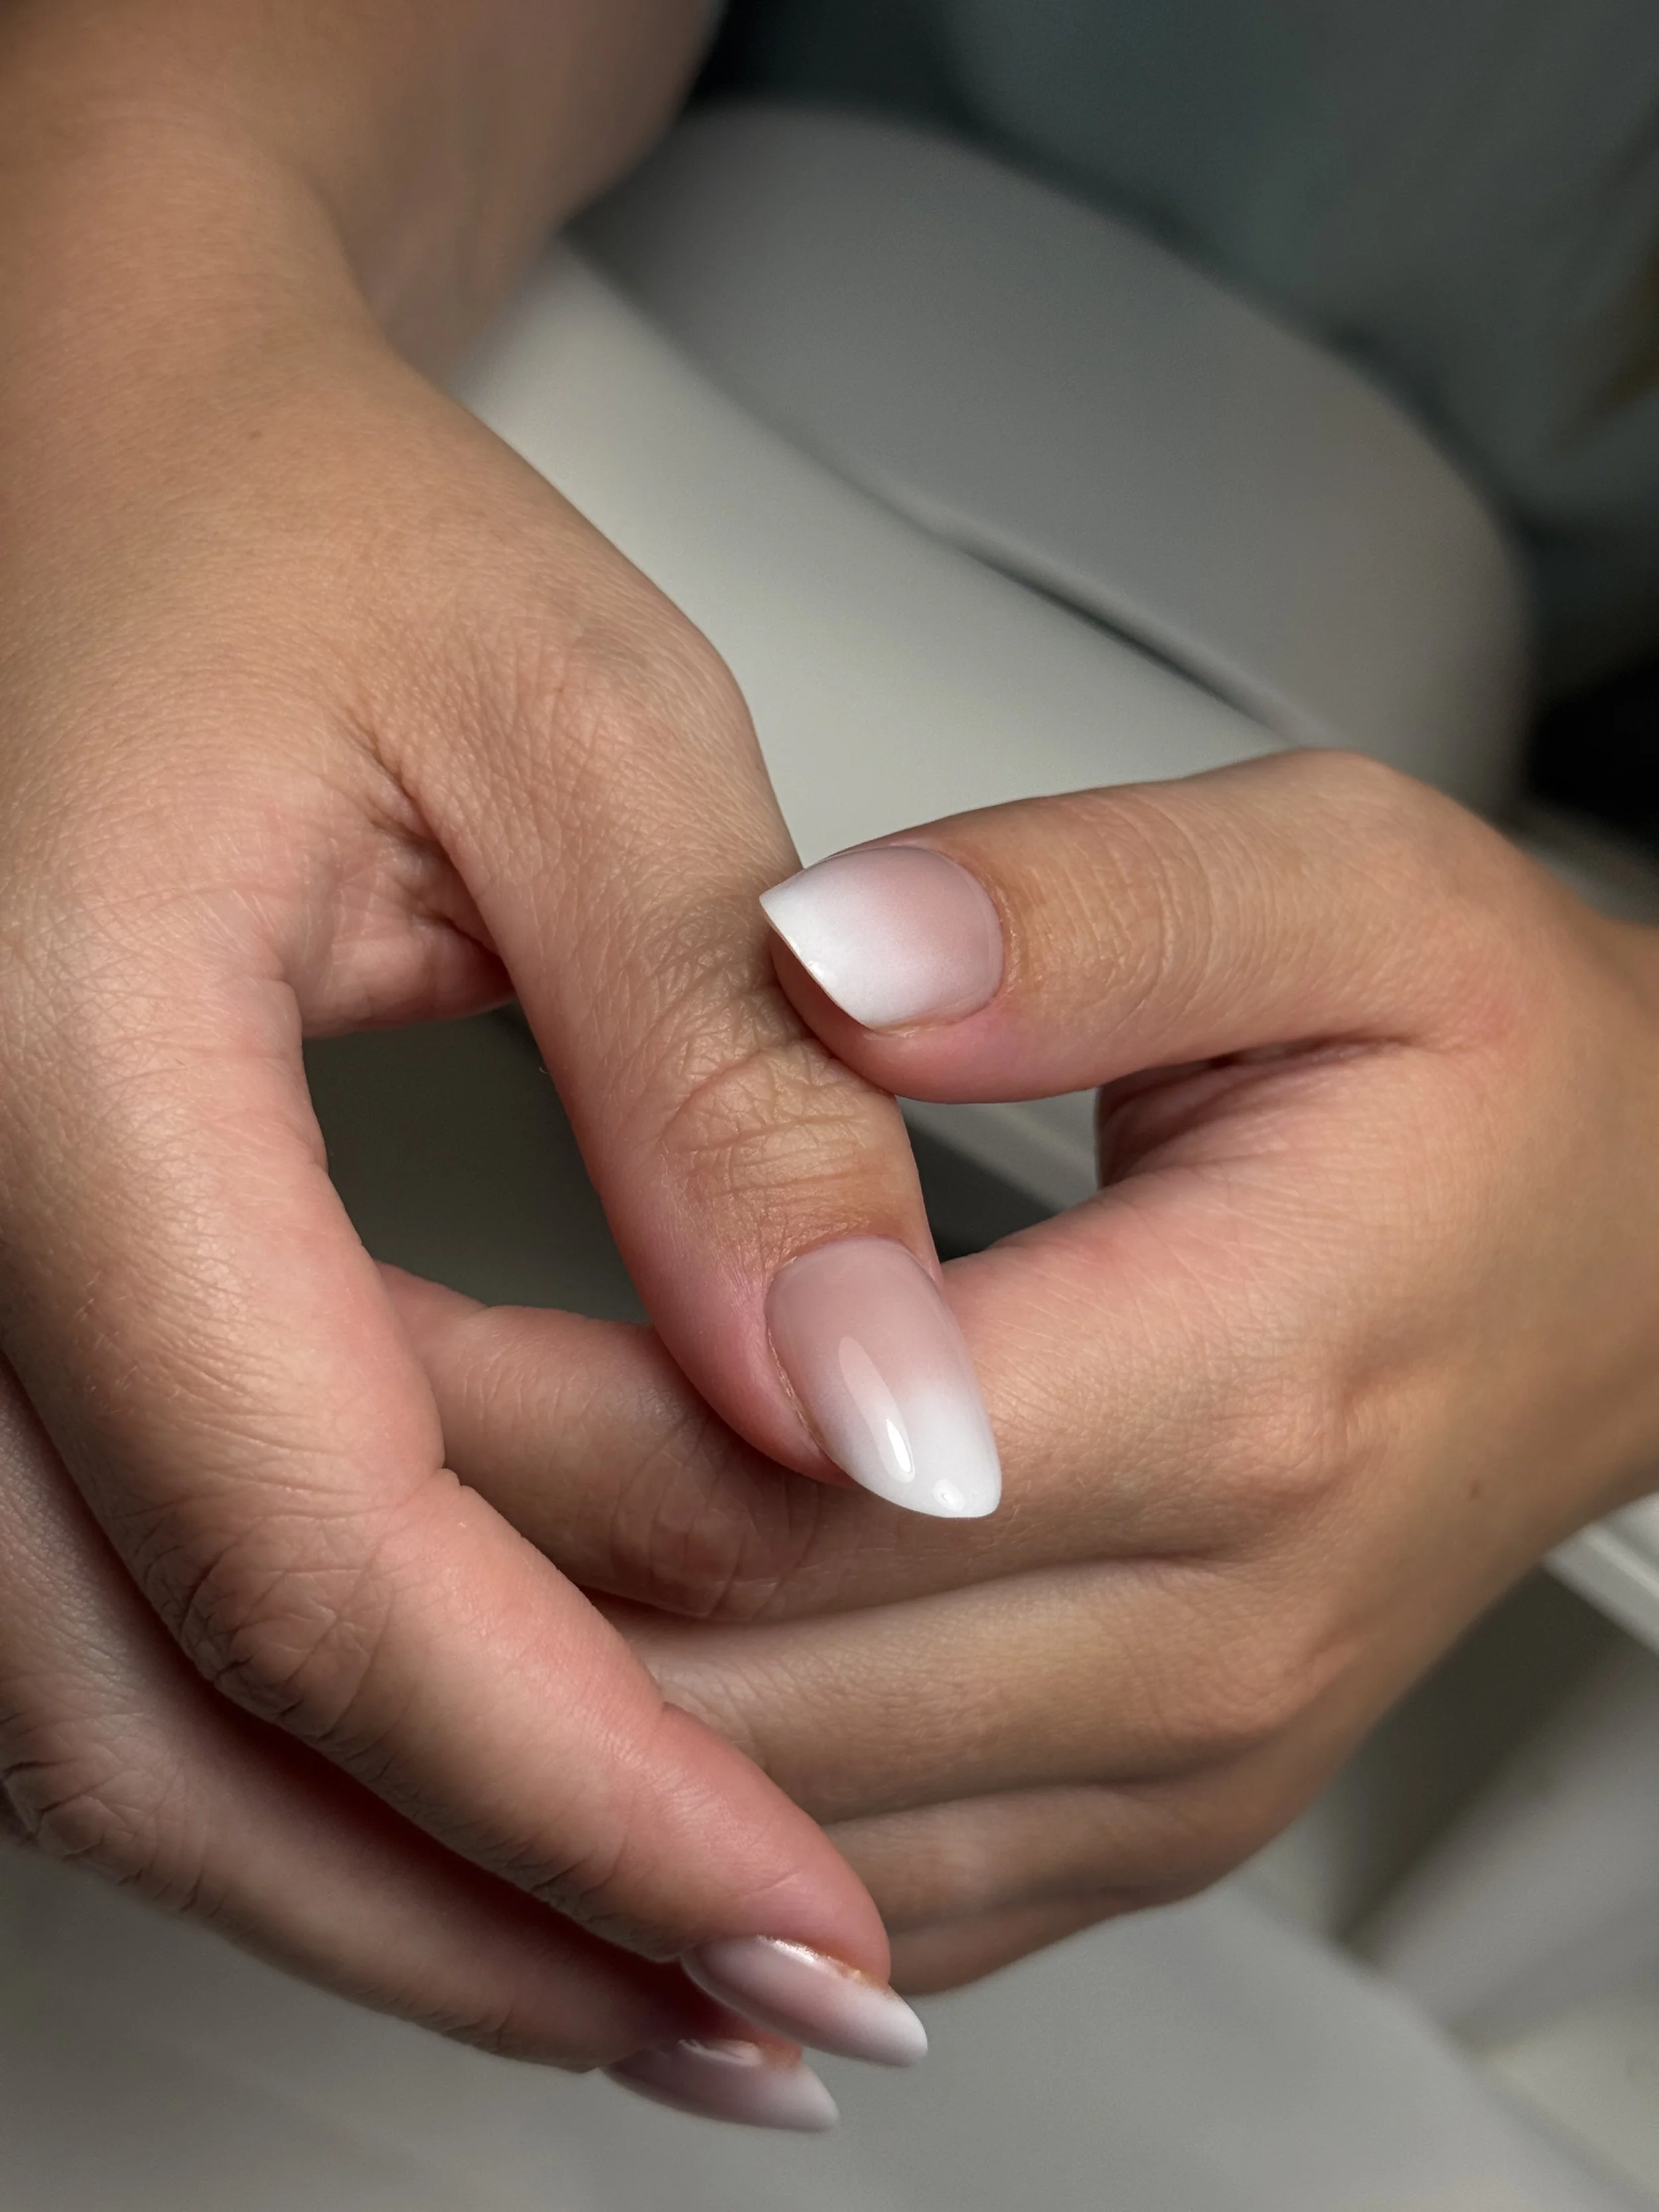
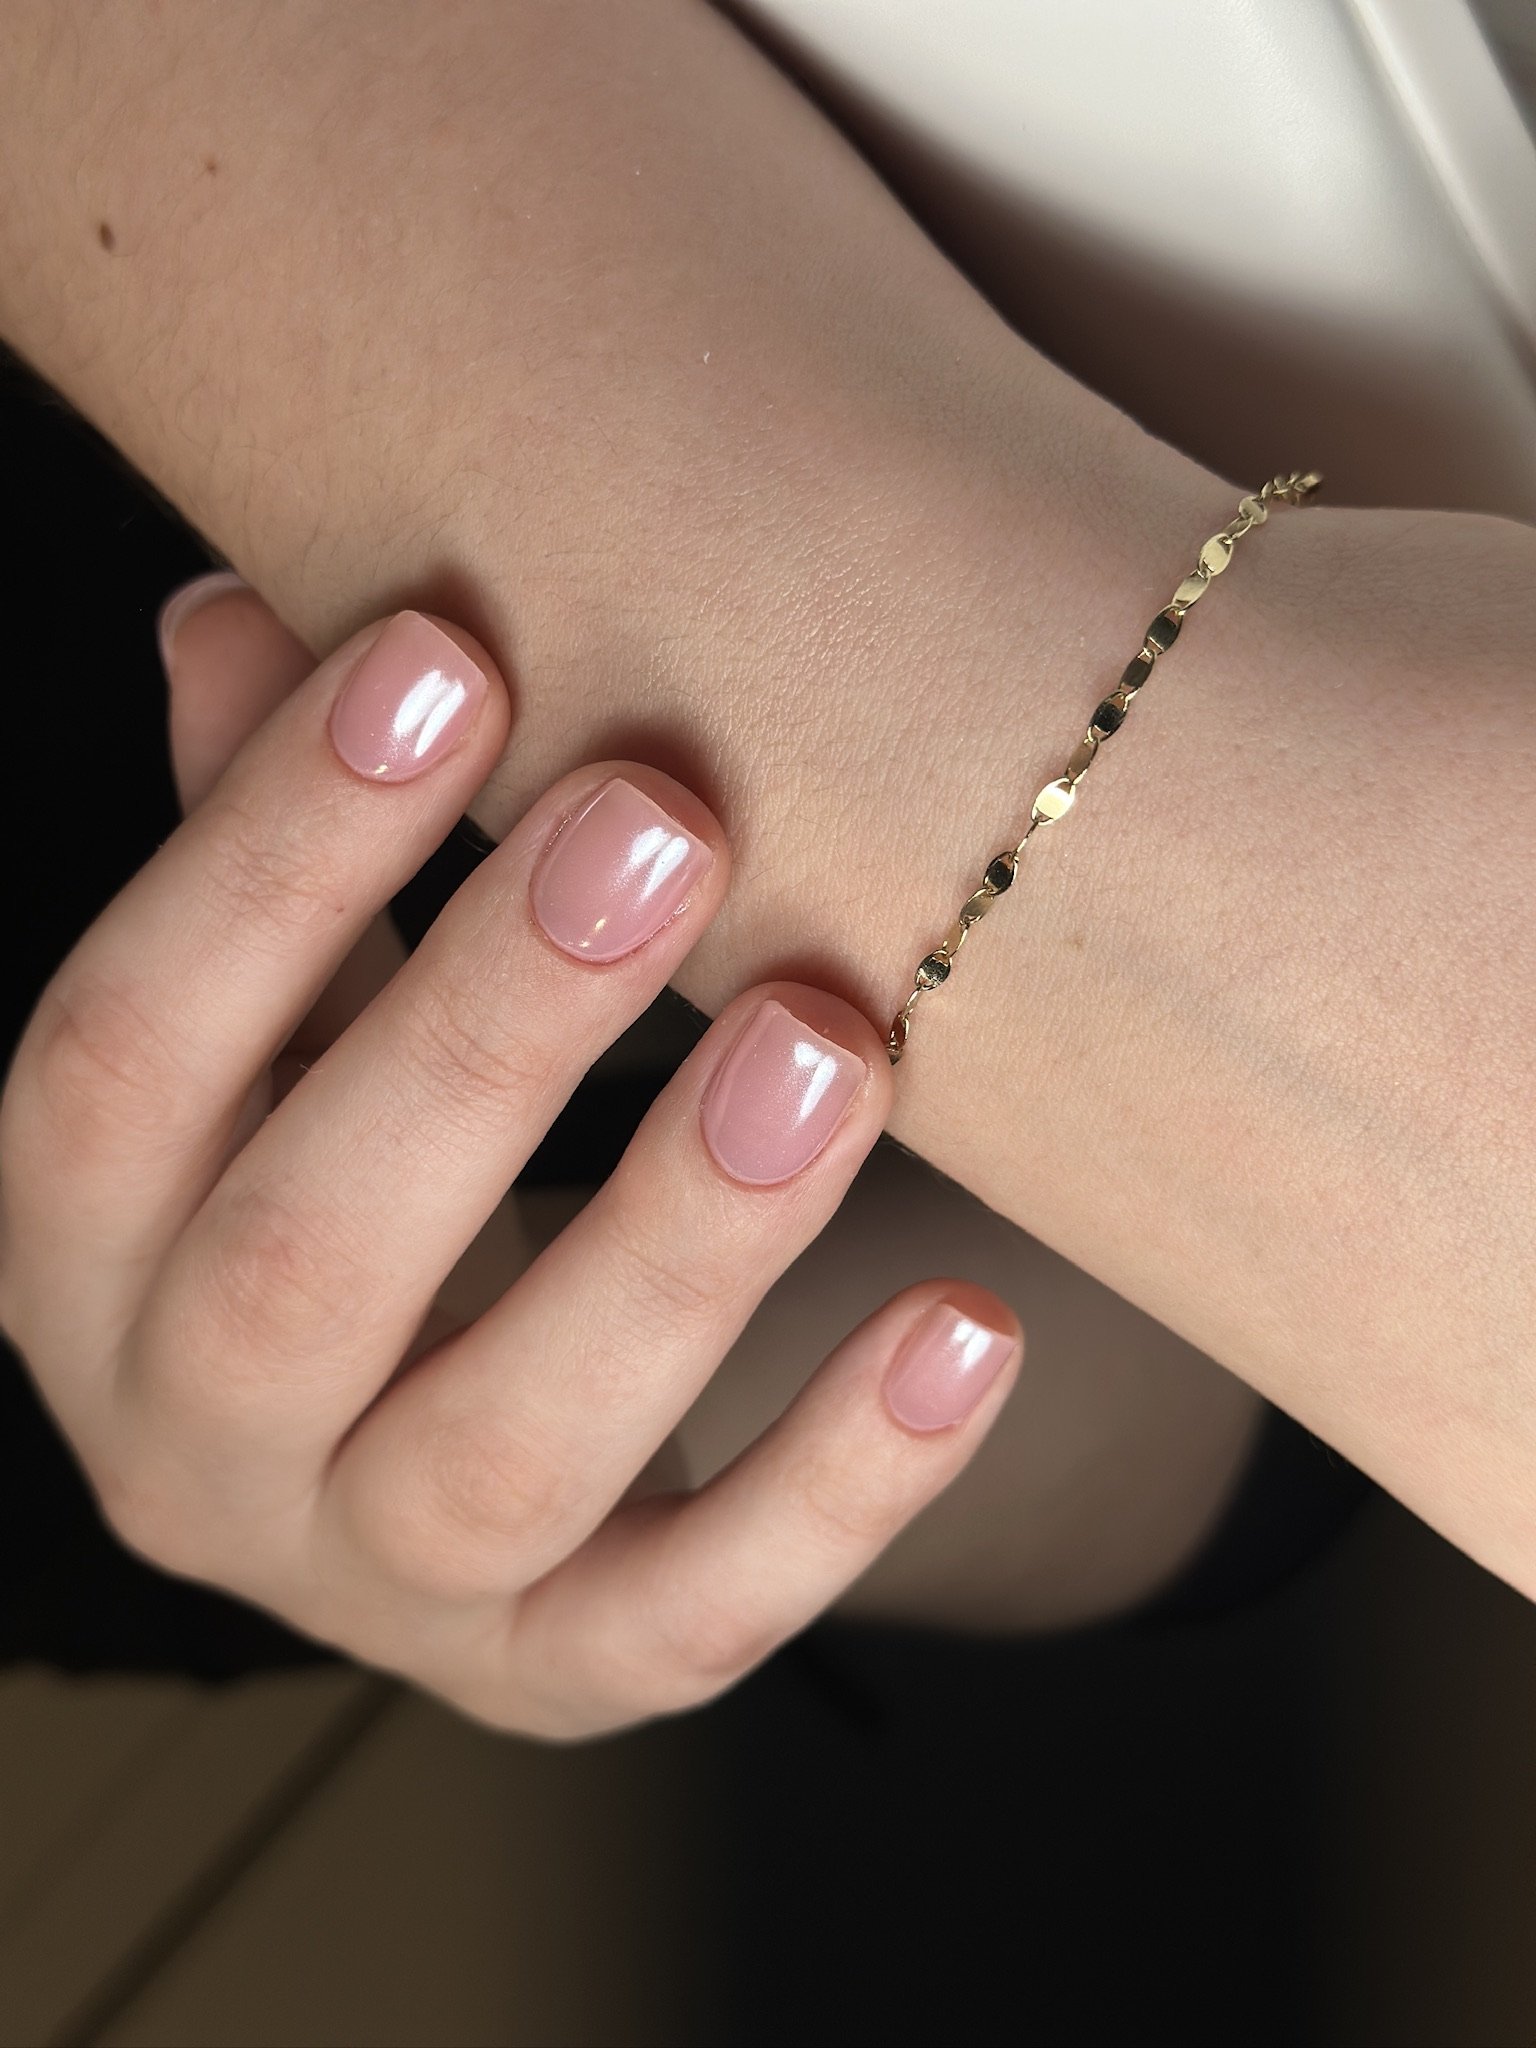
Do I want to grow my natural nails?
Am I hesitating between a classic French and pearly chrome?
Do I want milky white or a soft rosy nude?
Giving yourself time means you can try different looks and test the retention, so there are zero surprises on the big day.
A professional nail tech should be able to guide you based on your inspiration photos, skin tone, natural nail shape, and current nail health.
As for your pedi — we often don’t overthink it, but if you’re going for French toes, I highly recommend doing a trial. French tips are way more technical than people think (even though they’re a popular request)!
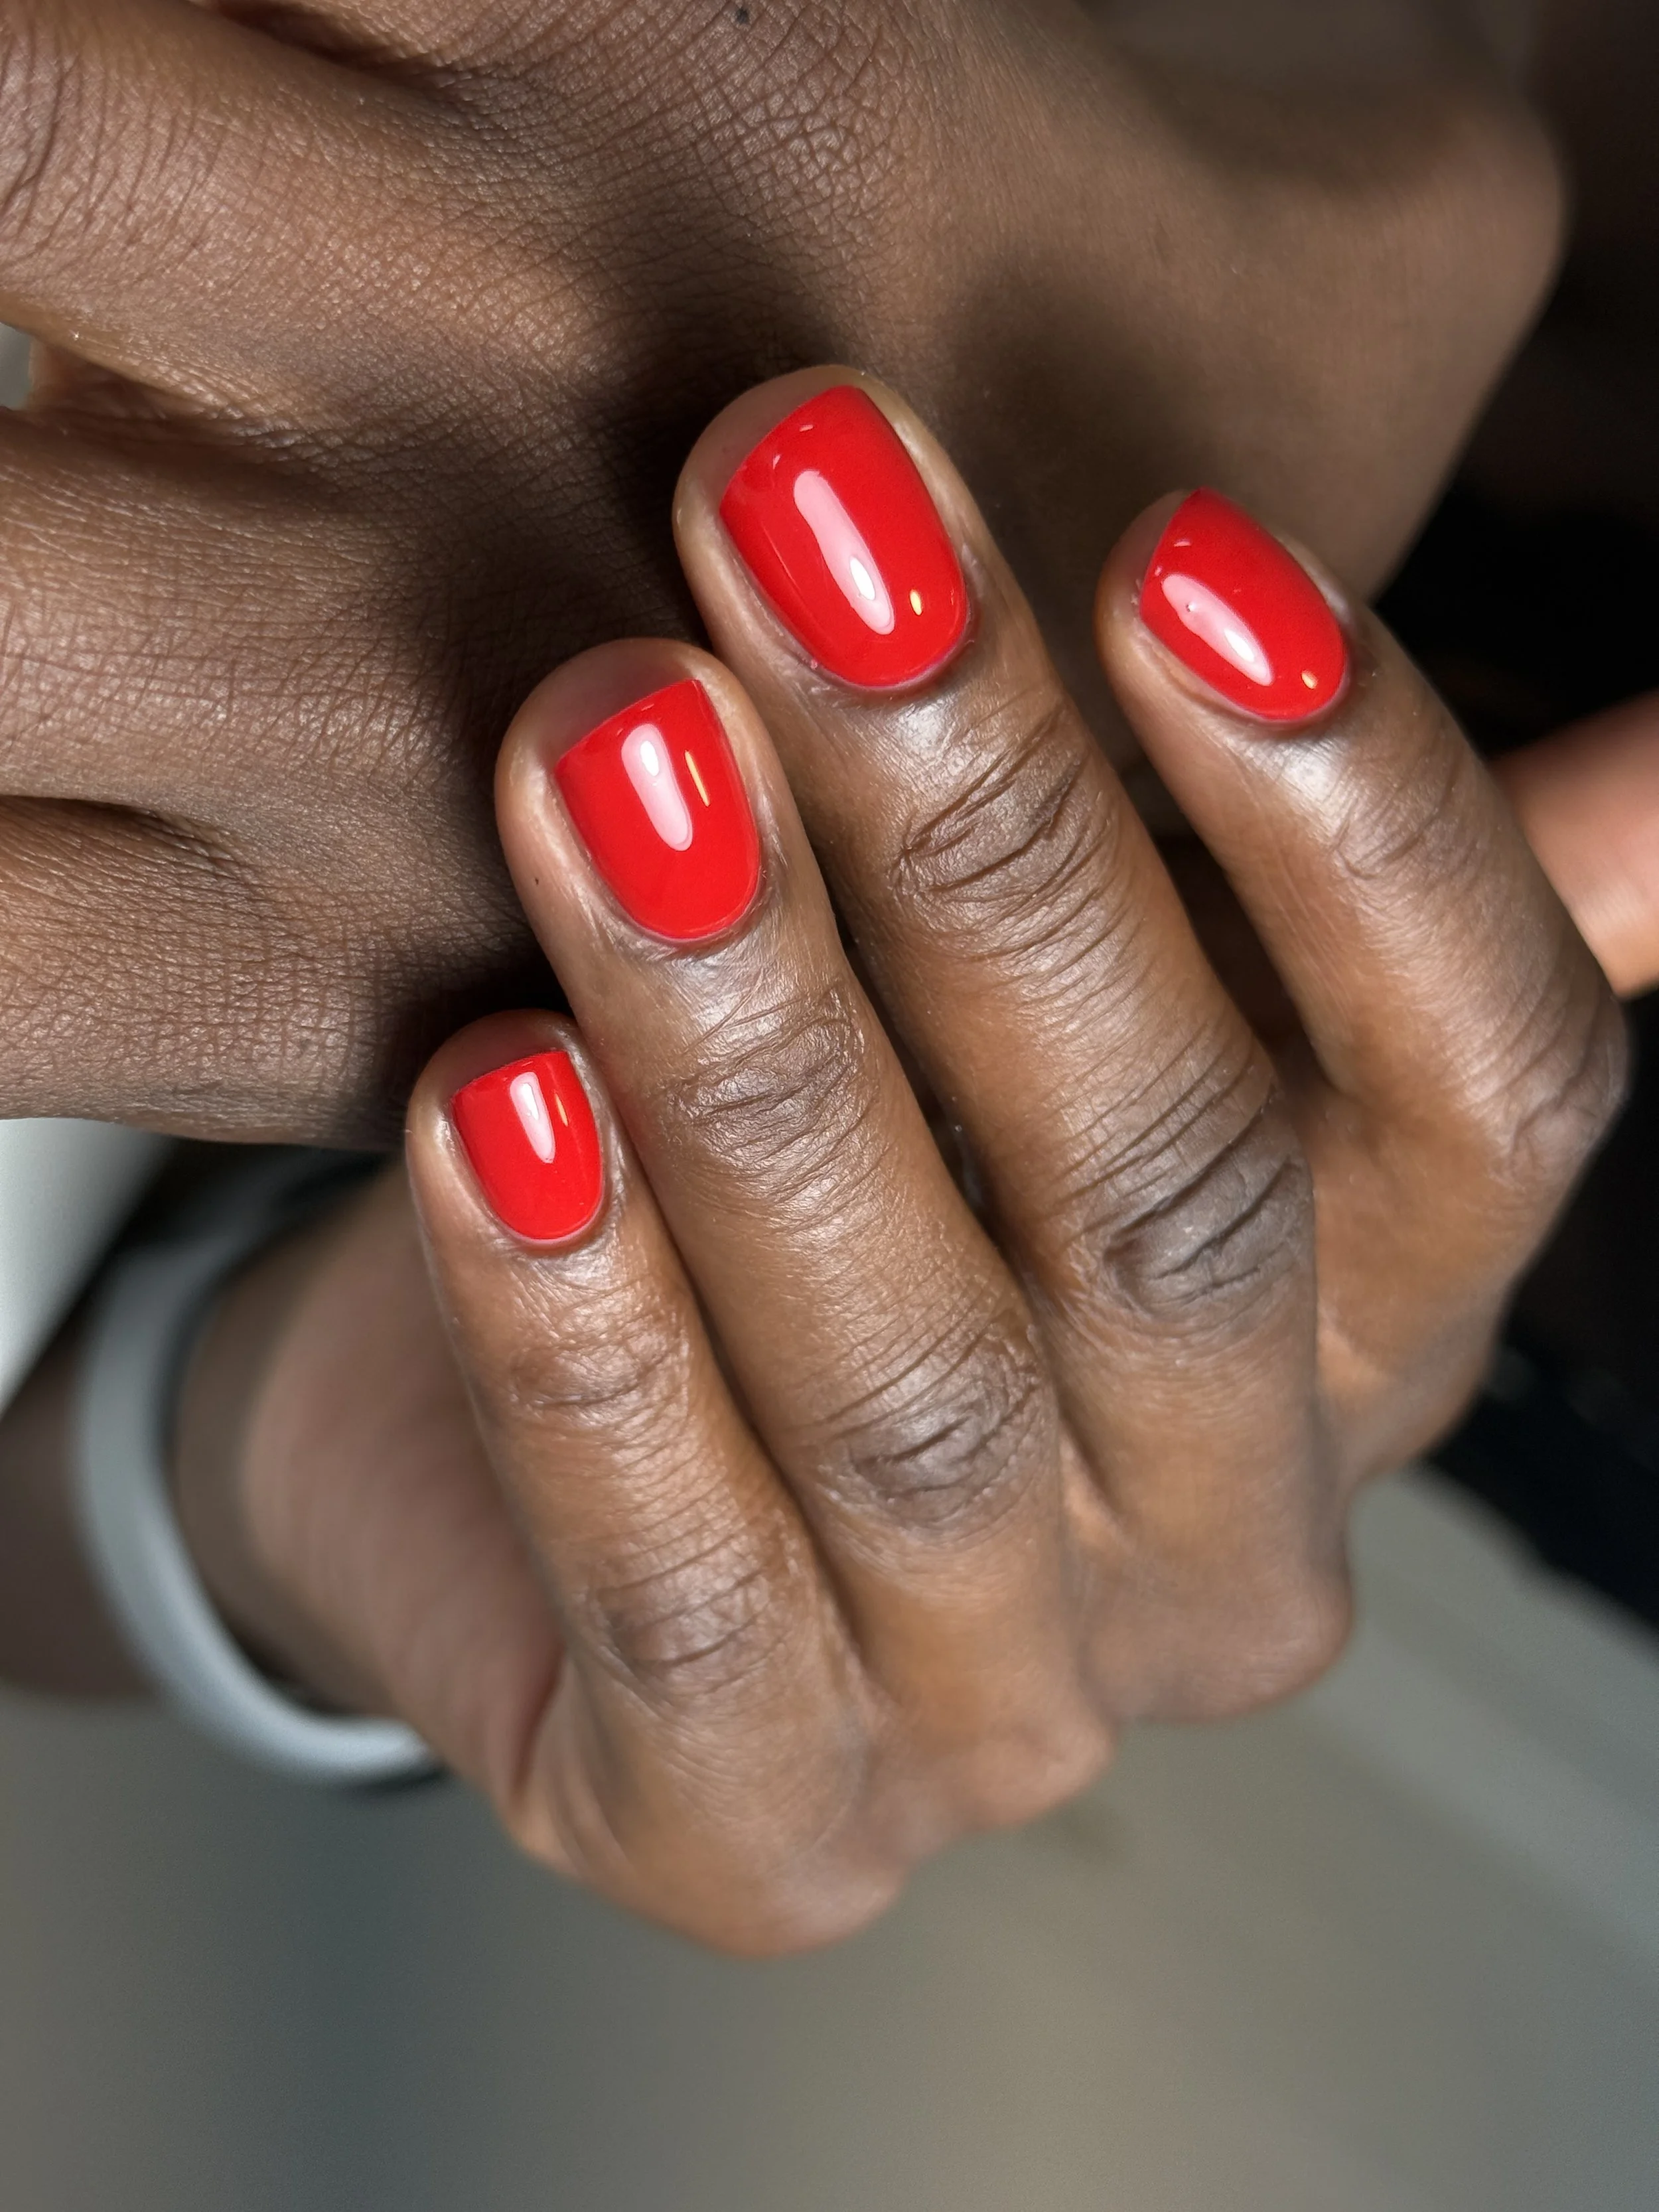
Step 4: Take picture tests
Your wedding day is all about capturing memories — and your nails will be part of that.
I always tell my future brides: take pictures of your nails in natural daylight and indoors, using your phone.
You’ll get a realistic view of how they’ll look on camera.
! Don’t forget to secure your appointments early!
Once you’re happy with the result, book all your appointments right away.
Summer fills up quickly, and many nail techs (like myself!) are often booked out weeks in advance.
And if you’re not 100% happy with your trial? You’ll still have time to explore other options from your shortlist.
One last story I’ll never forget:
A loyal client who had been going to a high-end downtown Toronto salon for two years came to me two months before her wedding.
Why? Because her regular nail place didn’t want to help her find the perfect nude for her skin tone.
She came in, we did two trials… and she fell in love with the final look and became a loyal client to me since a year now!


After doing so many bridal nails and seeing what works (and what doesn’t), I can say this with confidence:
When you plan ahead and find the right professional, the risk of being disappointed on your big day is close to zero.
Getting married and need help with your bridal manicure ?
Email me at hello@manicureprive.com, or just ask at your next appointment—I’ve got you.
Until our next chat, Bisous,
Nella 
You Deserve More Than Just ‘Pretty’ Nails—Here’s What Sets My Products Apart
You Deserve More Than Just ‘Pretty’ Nails—Here’s What Sets My Products Apart.

Let’s be honest—“pretty” nails are nice, but what about how they last after two or three weeks? What about what’s underneath once the gel comes off? When I started, like many nail techs, I followed what educators recommended: the usual go-to brands like OPI or CND. Over time, I found myself accumulating products that didn’t align with the results or standards I wanted to offer. So I made a shift.
The Turning Point: Choosing Better for My Clients and Me
I started looking for healthier, safer systems—products that could give my clients long-lasting results without compromising their nail health.
That’s how I found Akzentz and Bio Sculpture.
Akzentz, a Canadian brand, creates odorless, pro-grade gels with incredible durability.
Bio Sculpture, from South Africa, pioneer in the nail industry with the invention of the soak off bio gel, focuses on restorative gel systems that are flexible, breathable, and medical-grade.


Both are award-winning, vegan, and known for their commitment to nail health. They manufacture their products in-house, which means tighter control over ingredients and consistent quality. And when you sit in my chair, you’re not just getting a color—you’re getting a product that respects your nail plate, supports growth, and can handle your schedule (hello, moms, entrepreneurs, and 9-to-5 girlies).
Why It Matters
My clients don’t just want a clean look—they want their nails to stay strong underneath. With these systems and the right technique:
Nails lasts 3–4 weeks without chipping
Nails grow stronger over time
No aggressive removals or extreme burning
Every manicure feels tailored, not rushed
That’s the difference between a manicure that’s “just cute” and one that supports my clients' lifestyle—and keeps them coming back.
If that’s the kind of experience you’re looking for, I’d love to welcome you into my studio.
[Book your appointment here] and discover what a real difference the right products—and the right technique—can make.
Until our next chat, Bisous,
Nella! 
How to Care for Your Nails Between Appointments (Even with a Hectic Schedule)
Your Manicure doesn’t end when you leave my chair.
You’ve just had your nails done—they look clean, elegant, and everything feels put together. Now the big question: how do you keep them looking this good until your next visit?

1. Hydration Is Non-Negotiable
Nail health starts with hydration. Pretty nails with dry cuticles? Not the vibe. Period.
Hydrated cuticles protect your nails against everyday exposure to water, chemicals, and handwashing. And bonus: your nail tech (aka me!) will thank you—your next manicure will go smoother and last longer.
That’s why I always recommend keeping a cuticle oil or nourishing balm in your bag.
Here are my top picks:
Navy Cuticle Serum – Rich but never greasy, with an easy applicator (Available at the studio)
Bio Sculpture Cuticle Oil – Lightweight and packed with nail-loving ingredients (Available at the studio)
Paume Cuticle & Hand Cream – A great all-in-one for hydration on the go (Available here)
Shea Nail & Cuticle Oil – Intense hydration with a luxe feel (Available here)
I get it—life is hectic. That’s why I always suggest this simple routine: apply twice a day, ideally in the morning with your skincare, and again before bed (or after handwashing). This one habit will seriously extend the life of your manicure and improve your natural nail strength.
2. Gloves Are Your Manicure’s Best Friend
Cleaning dishes or any chores without gloves? That’s a no-go. Constant exposure to water and cleaning products weakens the gel and dries out your nails.
Keep a cute pair of reusable gloves by the sink. Trust me—it makes all the difference.
3. No Picking or Peeling at Home
If something lifts or breaks, resist the urge to pick or file it yourself. Peeling at your gel damages the natural nail underneath, making it thinner and more fragile over time.
And the skin around your nails? Constant picking can lead to ingrown nails, inflammation, or worse (panaris, anyone?).
Book a proper removal or repair—we’ll handle it gently.

4. Use a Hand Cream That Works With Your Nails
Some hand creams feel good but don’t do much. Choose one that actually hydrates and protects, especially in colder months.
My go-tos:
Paume All-in-One Hand Cream – Light enough for daytime, nourishing enough overnight
L’Occitane Shea Butter Hand Cream – Thick, rich, and ultra-soothing
5. Book Your Appointments Like You Book Everything Else
Consistency = results. Most of my clients come every 3–4 weeks for optimal nail health and retention. Waiting too long can lead to lifting, breakage, and a weaker nail structure.
Booking in advance means you get the time slot that works best for you—and your nails stay on track.
Your Manicure Doesn’t End When You Leave My Chair
Think of aftercare as part of your self-care ritual. It takes less than a minute a day, but the results show: stronger nails, longer retention, and that fresh-from-the-studio look, every single time.
Need help choosing the right product for your routine?
Email me at hello@manicureprive.com, or just ask at your next appointment—I’ve got you.
Until our next chat, Bisous,
Nella